
Browser extensions can be fantastic tools, enhancing your web experience from blocking ads to managing passwords. But sometimes, they can cause issues like slowing down your browser, clashing with websites, or even raising security concerns. If you’re looking to regain control of your browser or simply want to declutter, this Herond article will show you how to disable a Browser Extension: Quick Tips for Beginners. Let’s dive into some useful advice to get you started!
What Does Disabling a Browser Extension Mean?
Simple definition
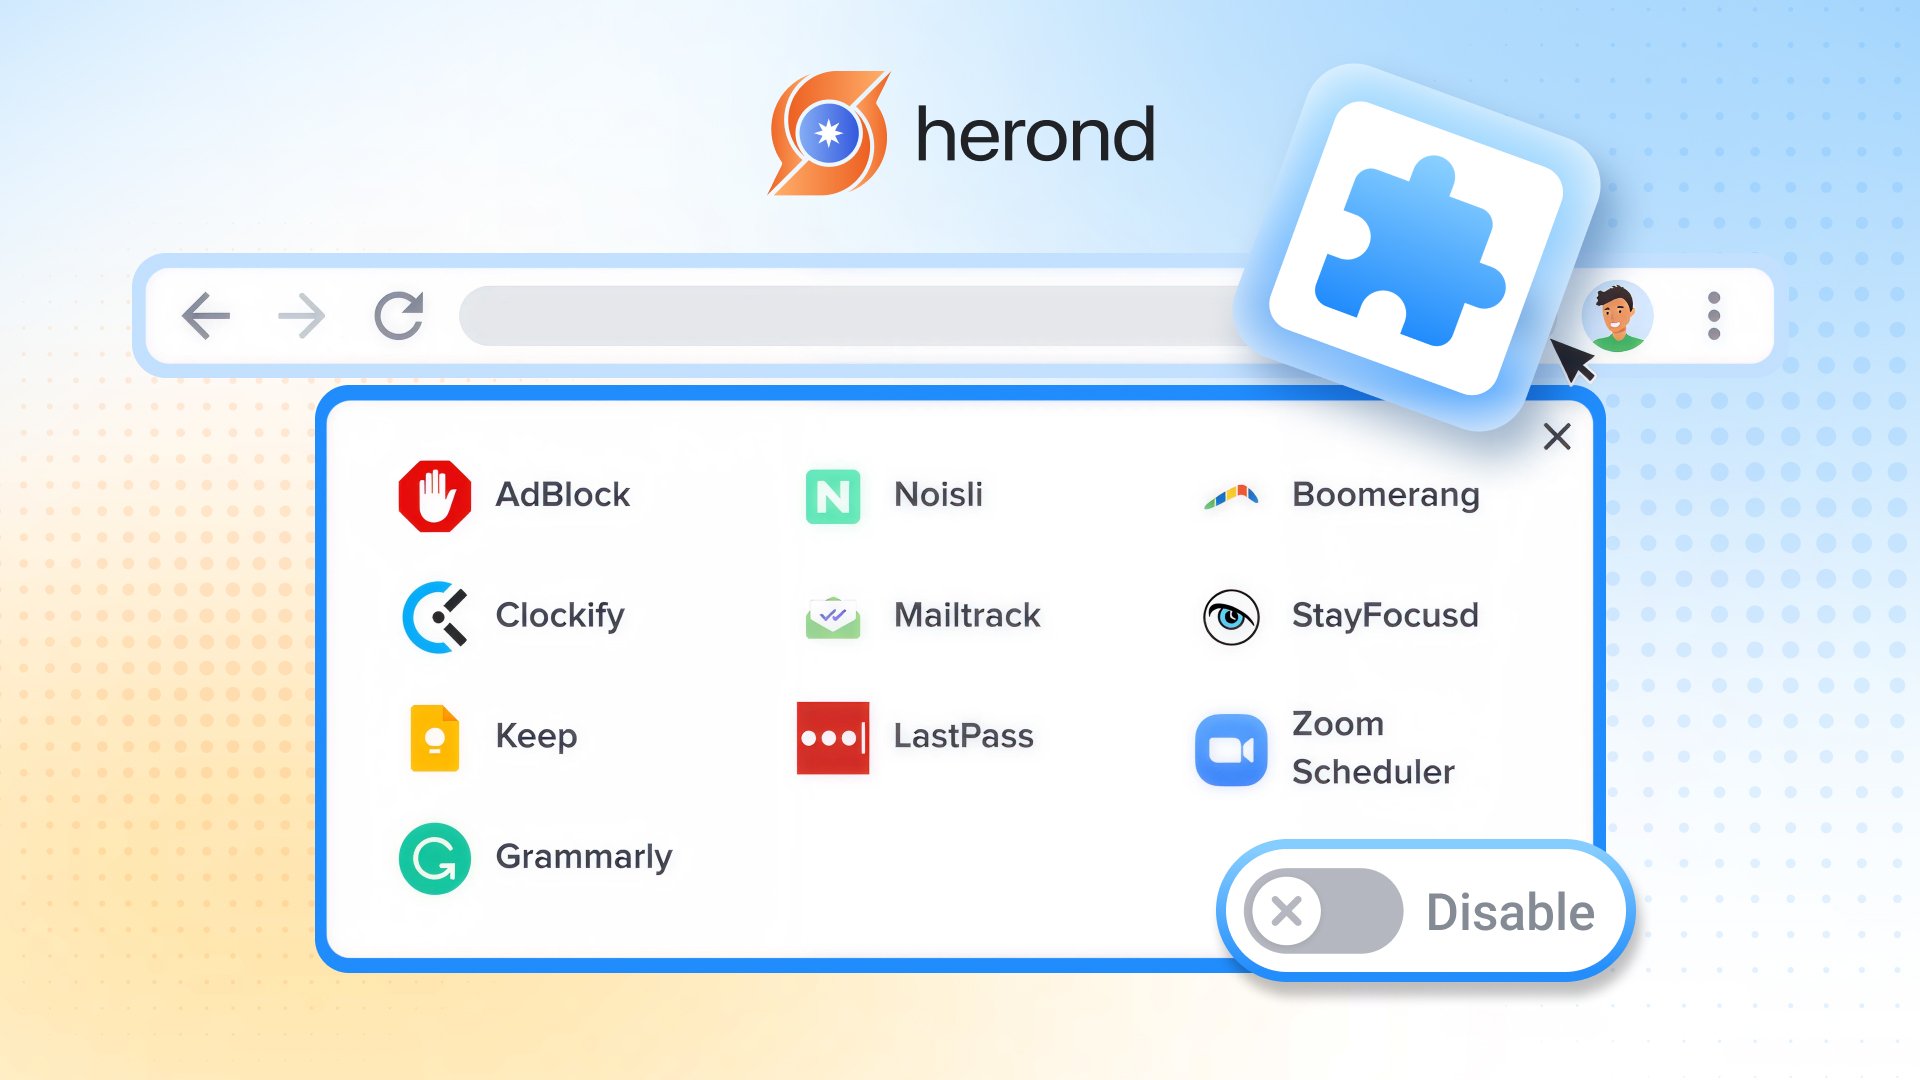
Disabling a browser extension means you’re simply turning it off without uninstalling it. It stops running and affects your browser, but stays installed so you can easily reactivate it later. This gives you flexibility to manage your browser’s performance and security on the fly.
Benefits
Knowing how to disable a browser extension offers several benefits. It often improves browser speed by reducing background processes, enhances security by deactivating potentially risky extensions, and simplifies browse by decluttering your toolbar and preventing website conflicts. It’s a quick way to troubleshoot and keep your browser efficient.
Step-by-Step Guide to disable a Browser Extension
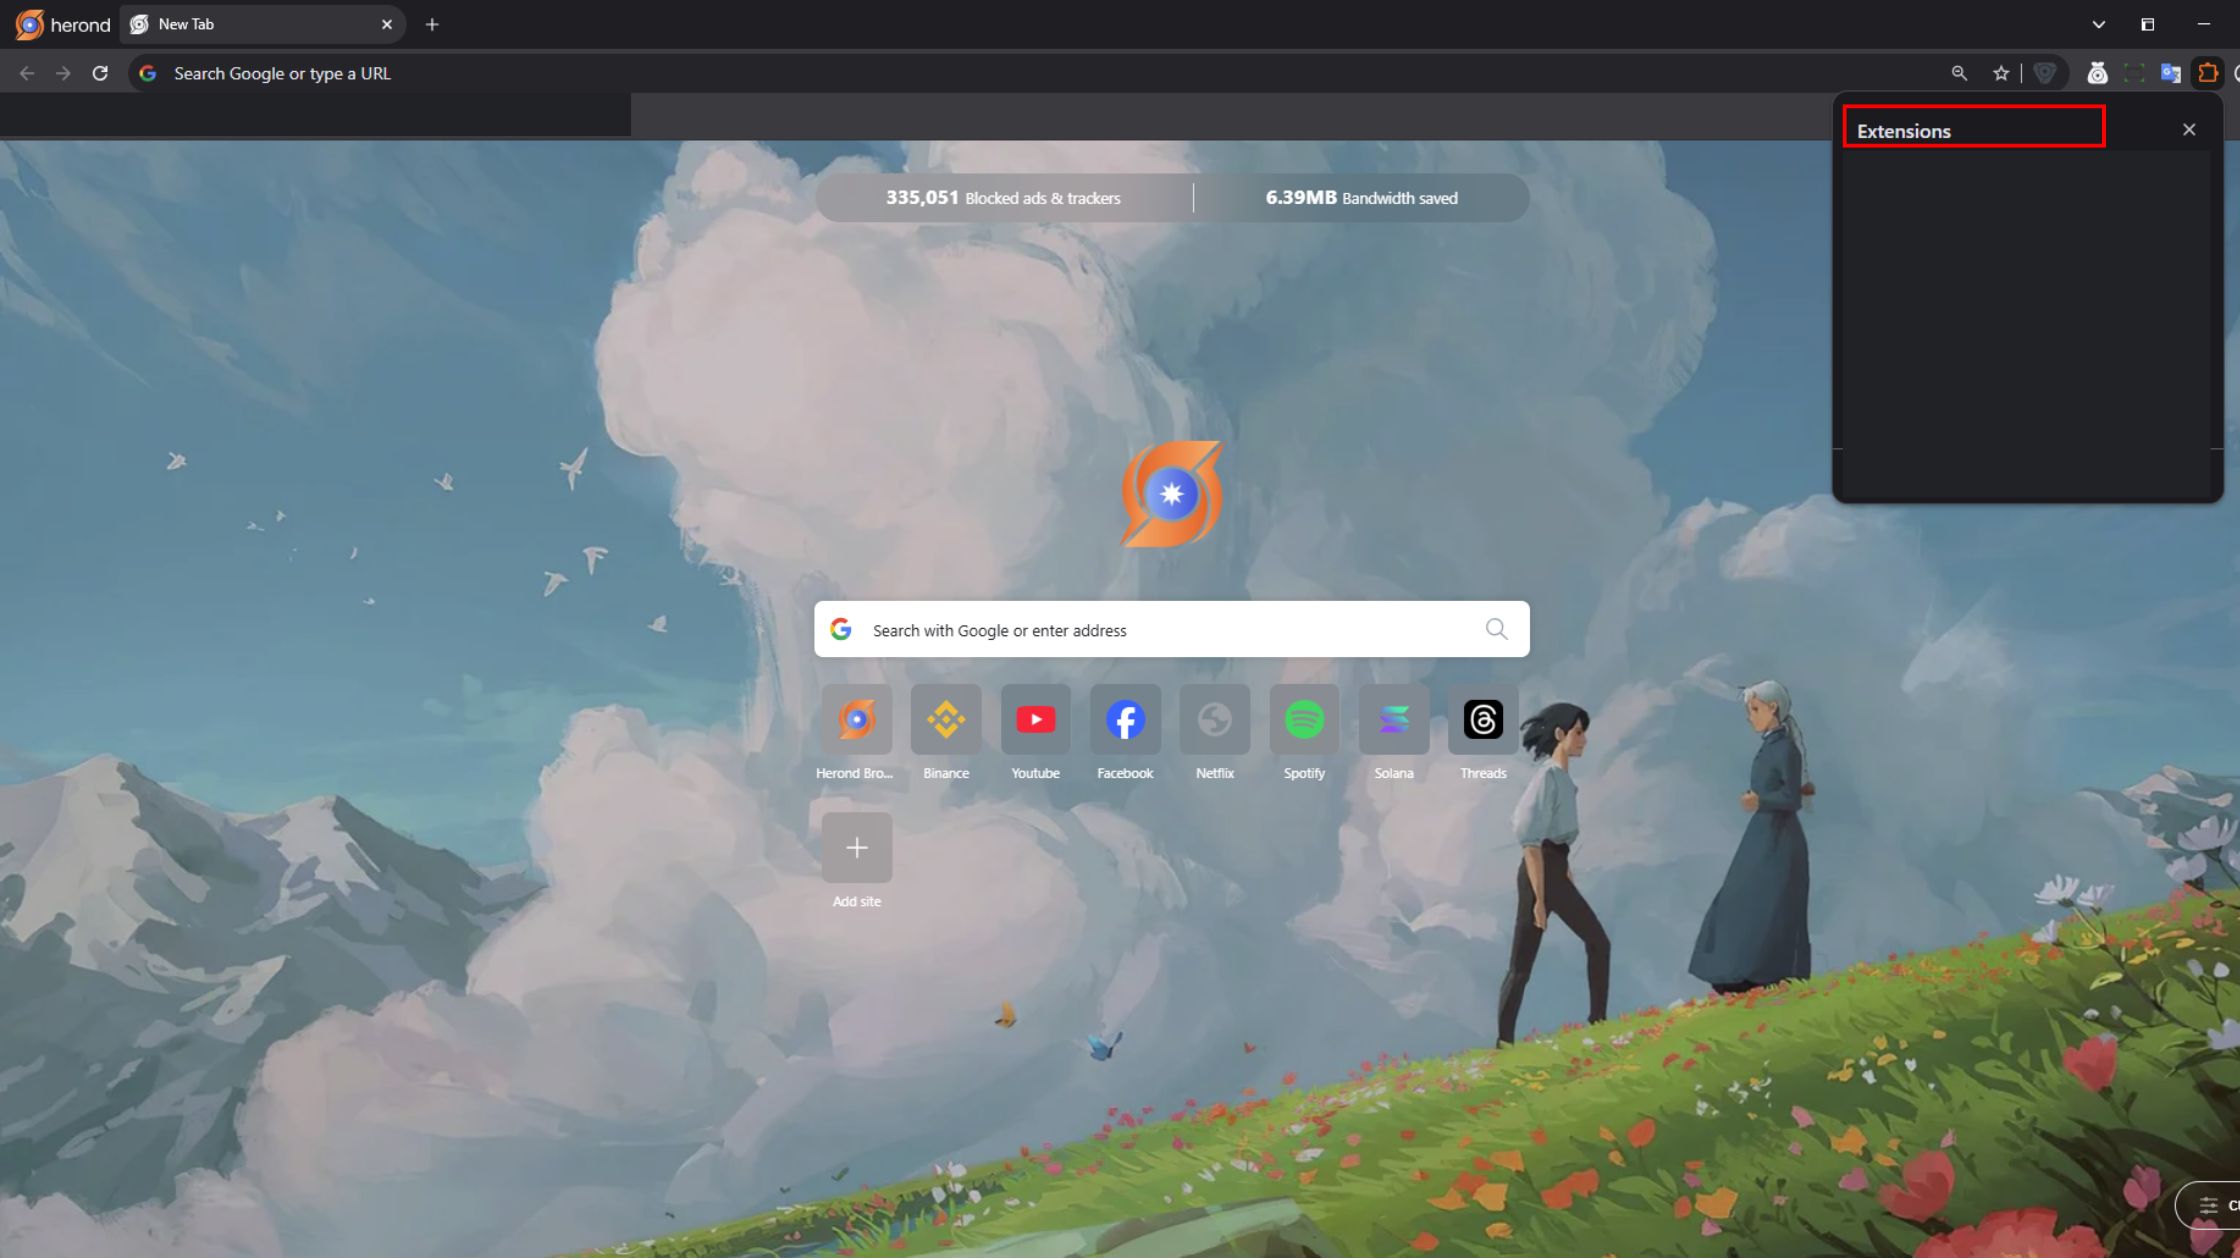
Step 1: Access the Extensions Menu
How to find
The first step to managing your browser’s add-ons is knowing how to disable a browser extension by finding its dedicated menu. On Chrome, you typically navigate through the Menu (three dots) in the top right, then hover over “More Tools,” and finally click “Extensions.” For Firefox users, you’ll find it by clicking the Menu (three lines), then selecting “Add-ons and themes.” Herond Browser and other Chromium-based browsers usually follow a similar path to Chrome.
Tip
For a quicker way to access your extensions menu, consider using keyboard shortcuts. For instance, on Chrome and many other Chromium-based browsers, you can often jump directly to the extensions page by pressing Ctrl + Shift + E (or Cmd + Shift + E on Mac). This little trick can save you time and make the process of learning how to do it even more efficient, letting you manage your add-ons with just a few keystrokes.
Step 2: Toggle Off the Extension
Once you’re in the extensions menu, how to disable a browser extension is simple. Just find the extension you wish to turn off and click its toggle switch. This immediately deactivates it, stopping it from running in the background while keeping it installed for future use.
Safety note
A crucial safety tip when managing extensions is to be aware of their permissions. Before disabling an extension, review the access it has been granted (e.g., Browse history, site data). Understanding these permissions is vital for your online security and privacy.
Step 3: Verify the Change
After you’ve toggled off an extension, it’s smart to verify the change to ensure it’s no longer active. To do this, simply browse to a website where you previously noticed the extension’s effect, or open a new tab and observe your browser’s performance. This quick check confirms that you’ve successfully learned how to disable a browser extension and that it’s no longer interfering with your browse experience or consuming resources.
Tip
Occasionally, an extension might not fully deactivate immediately after toggling it off. If you’ve verified the change and the extension still seems active, a simple restart of your browser can often resolve the issue. Close all browser windows, then reopen your browser. This action forces all processes to shut down and restart, ensuring the extension’s disabled state is fully applied, making your effort to learn how to disable a browser extension complete and effective.
Quick Tips for Beginners to disable Extensions Safely
Tip 1
When you’re trying to figure out which extension might be causing problems, like slowing down your browser or crashing a website, it’s best to disable one extension at a time. This method lets you pinpoint the exact culprit. After disabling one, test your browser to see if the issue is resolved. If not, re-enable it and move on to the next. This systematic approach makes learning how to disable a browser extension for troubleshooting much more efficient.
Tip 2
Before you toggle off an extension, take a moment to review its permissions. Extensions often ask for broad access to your browser data, history, or even the ability to change website content. Understanding these permissions helps you know what the extension was capable of doing. This knowledge is key for maintaining your online privacy and security, and it’s a smart step when learning how to disable a browser extension.
Tip 3
It’s a good habit to keep a list of disabled extensions for future reference. You might disable an extension thinking you won’t need it, only to realize later that a specific website or workflow depends on it. A simple note or a mental list of what you’ve turned off can save you time and frustration if you need to reactivate something or understand why a certain feature isn’t working. This tip makes managing how to disable a browser extension a more organized process.
Common Pitfalls and How to Avoid Them
Pitfall 1: Accidentally removing it instead of disabling
A common mistake when learning how to disable a browser extension is accidentally removing or uninstalling it instead of just disabling. This happens when users click the “Remove” or “Uninstall” button instead of the toggle switch. The solution is simple: always double-check the button or toggle you’re about to click. Disabling keeps the extension installed for future use, whereas removing it means you’d have to re-download and re-install it if you ever change your mind.
Pitfall 2: Performance drop after disabling
Sometimes, even after you’ve learned how to disable a browser extension, you might still notice a performance issue or a lingering effect. This “performance drop” isn’t necessarily because of the disabled extension, but could be due to leftover data. The solution here is to clear your browser’s cache and cookies after disabling extensions, especially if you’re troubleshooting speed problems. This helps refresh your browser’s data, ensuring that any residual effects of the inactive extension are completely gone and your browser runs smoothly.
Conclusion
Learning how to disable a browser extension empowers you to control your online experience. This simple skill is vital for troubleshooting performance, enhancing security, or just decluttering your browser.
By following quick tips – accessing the menu, toggling off, verifying changes, and applying best practices – you, you ensure a smooth, safe, and tailored browse journey. Managing extensions regularly is a small effort that yields big rewards: a faster, more secure, and more enjoyable online life.
About Herond
Herond Browser is a cutting-edge Web 3.0 browser designed to prioritize user privacy and security. By blocking intrusive ads, harmful trackers, and profiling cookies, Herond creates a safer and faster browsing experience while minimizing data consumption.
To enhance user control over their digital presence, Herond offers two essential tools:
- Herond Shield: A robust adblocker and privacy protection suite.
- Herond Wallet: A secure, multi-chain, non-custodial social wallet.
As a pioneering Web 2.5 solution, Herond is paving the way for mass Web 3.0 adoption by providing a seamless transition for users while upholding the core principles of decentralization and user ownership.
Have any questions or suggestions? Contact us:
- On Telegram https://t.me/herond_browser
- DM our official X @HerondBrowser
- Technical support topic on https://community.herond.org