

In an age where digital security is more important than ever, safeguarding your personal and professional files is a top priority. Whether it’s sensitive work documents, personal photos, or private information, ensuring that your data is protected from unauthorized access is crucial. One effective way to enhance your digital security is by password-protecting your folders. This not only adds an extra layer of protection but also gives you peace of mind knowing that your files are secure. In this article, we will walk you through various methods on how to password protect a folder, tailored to different devices and levels of security, so you can choose the one that best suits your needs. Whether you’re using Windows, macOS, or even a mobile device, we will lead you with step-by-step guides to keep your files safe from prying eyes.
At the present, almost all Windows, MacOs or mobile phones do not offer a direct way to password-protect folders, but you can secure files within apps or use third-party apps to achieve similar protection. Here’s a guide on how to do this:
Method 1: Using a ZIP File with a Password
This is a simple method using built-in Windows functionality. Here is the step-by-step guide on how to password protect a folder using a ZIP File with a password.
- Step 1: Right-click on the folder you want to protect.
- Step 2: Select “Send to” and then choose “Compressed (zipped) folder.” A new ZIP file will be created in the same location as the folder.
- Step 3: Right-click the ZIP file and select “Properties.”
- Step 4: Go to the “General” tab, then click “Advanced…”. Check the box next to “Encrypt contents to secure data,” then click “OK.”
Your folder contents are now protected, though the ZIP file itself does not prompt for a password. Please be noted that this method requires Windows Professional or Enterprise edition.
Method 2: Using Third-Party Software (e.g., 7-Zip or WinRAR)
Third-party softwares like 7-Zip or WinRAR offer more advanced password protection options.
For 7-Zip
- Step 1: Download and install 7-Zip from the official website if you don’t already have it.
- Step 2: Right-click on the folder you want to protect.
- Step 3: Hover over “7-Zip” and select “Add to archive…”. In the “Add to Archive” window, find the “Encryption” section.
- Step 4: Enter your desired password in the “Enter password” and “Reenter password” fields.
- Step 5: Select “AES-256” as the encryption method. Click “OK”. A new, password-protected archive will be created.
For WinRAR
- Step 1: Download and install WinRAR from the official website.
- Step 2: Right-click on the folder you want to protect.
- Step 3: Choose “Add to archive…”. In the window that appears, click the “Set password…” button.
- Step 4: Enter your desired password and confirm it. Click “OK” and then “OK” again to create the archive. Your folder is now password-protected within the .rar file.
Method 3: Encrypting the Folder (Windows Pro and Enterprise Only)
This method uses Windows’ built-in encryption (EFS) available in Professional and Enterprise versions.
- Step 1: Right-click on the folder you want to encrypt and select “Properties.”
- Step 2: In the “General” tab, click the “Advanced…” button.
- Step 3: Check the box next to “Encrypt contents to secure data.” Click “OK” and then “Apply.”
- Step 4: A dialog box will ask if you want to encrypt the folder and all its subfolders and files. Choose the appropriate option. Click “OK” to apply the encryption.
Your folder is now encrypted, and only your user account can access it.
Method 4: Using Shortcuts App to Create a Custom Password-Protected Folder (iOS only)
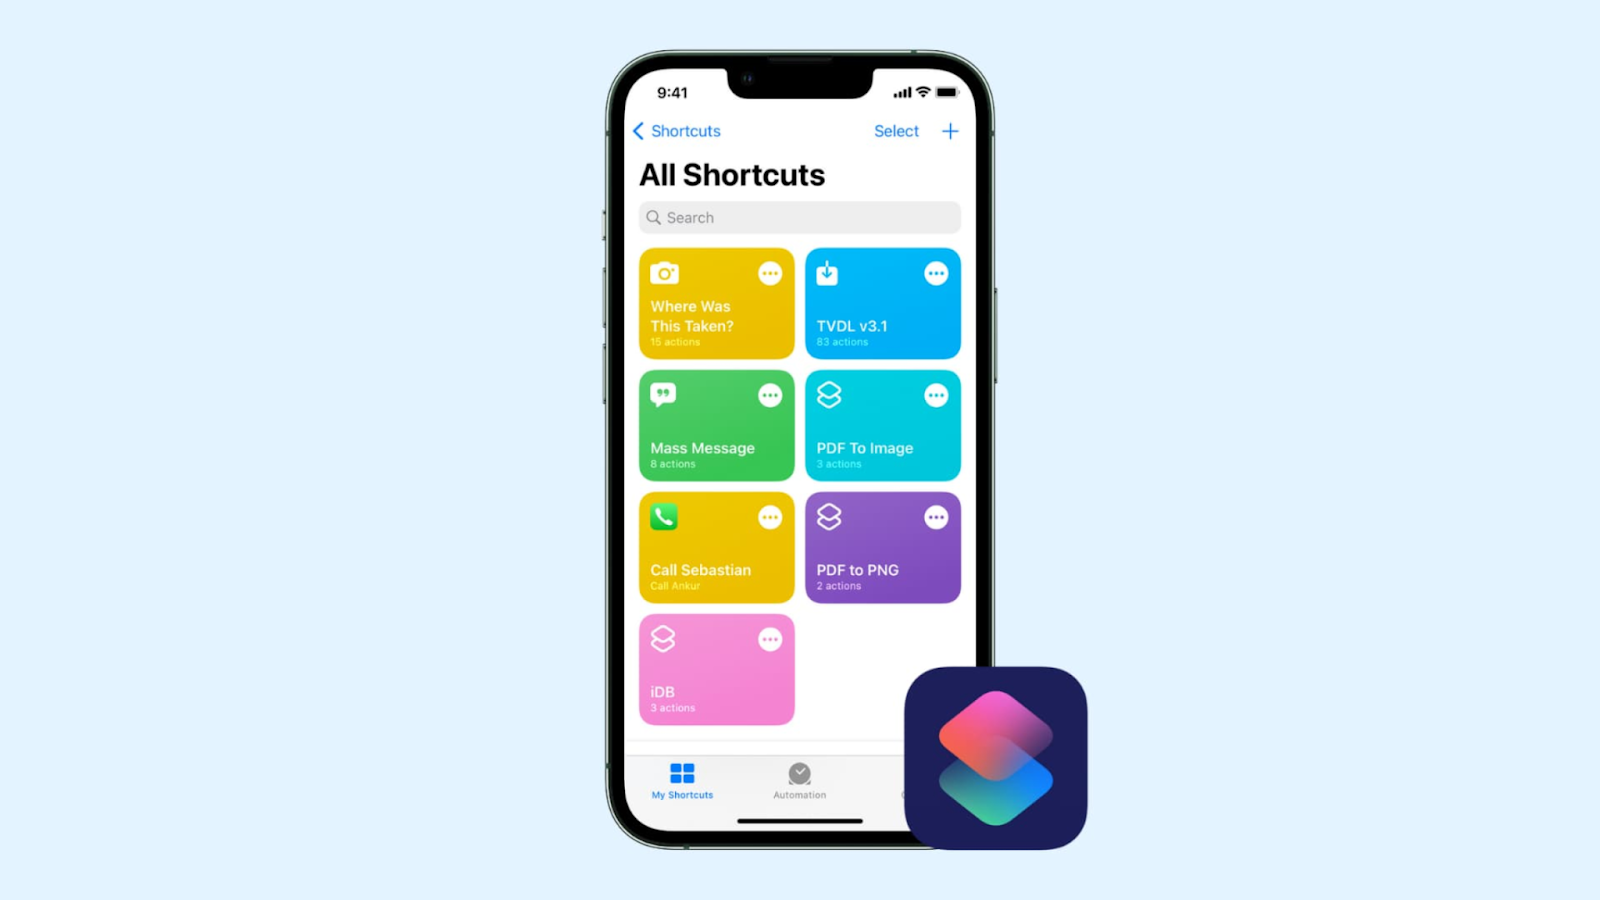
This method is a bit advanced and requires using the Shortcuts app to create a pseudo-folder protected by a password.
- Step 1: Open the Shortcuts app on your iPhone or iPad.
- Step 2: Tap the “+” button to create a new shortcut.
- Step 3: Add actions to the shortcut, such as “Ask for Input” (to request a password) and “If” statements (to compare the entered password to the correct one).
- Step 4: Add actions to open the desired files or apps if the password is correct. Save the shortcut with a name like “Secure Folder” and place it on your home screen.
When you tap the shortcut, it will prompt you for a password before giving access to the files or apps you specified.
Method 5: Using the Files App with Third-Party Storage
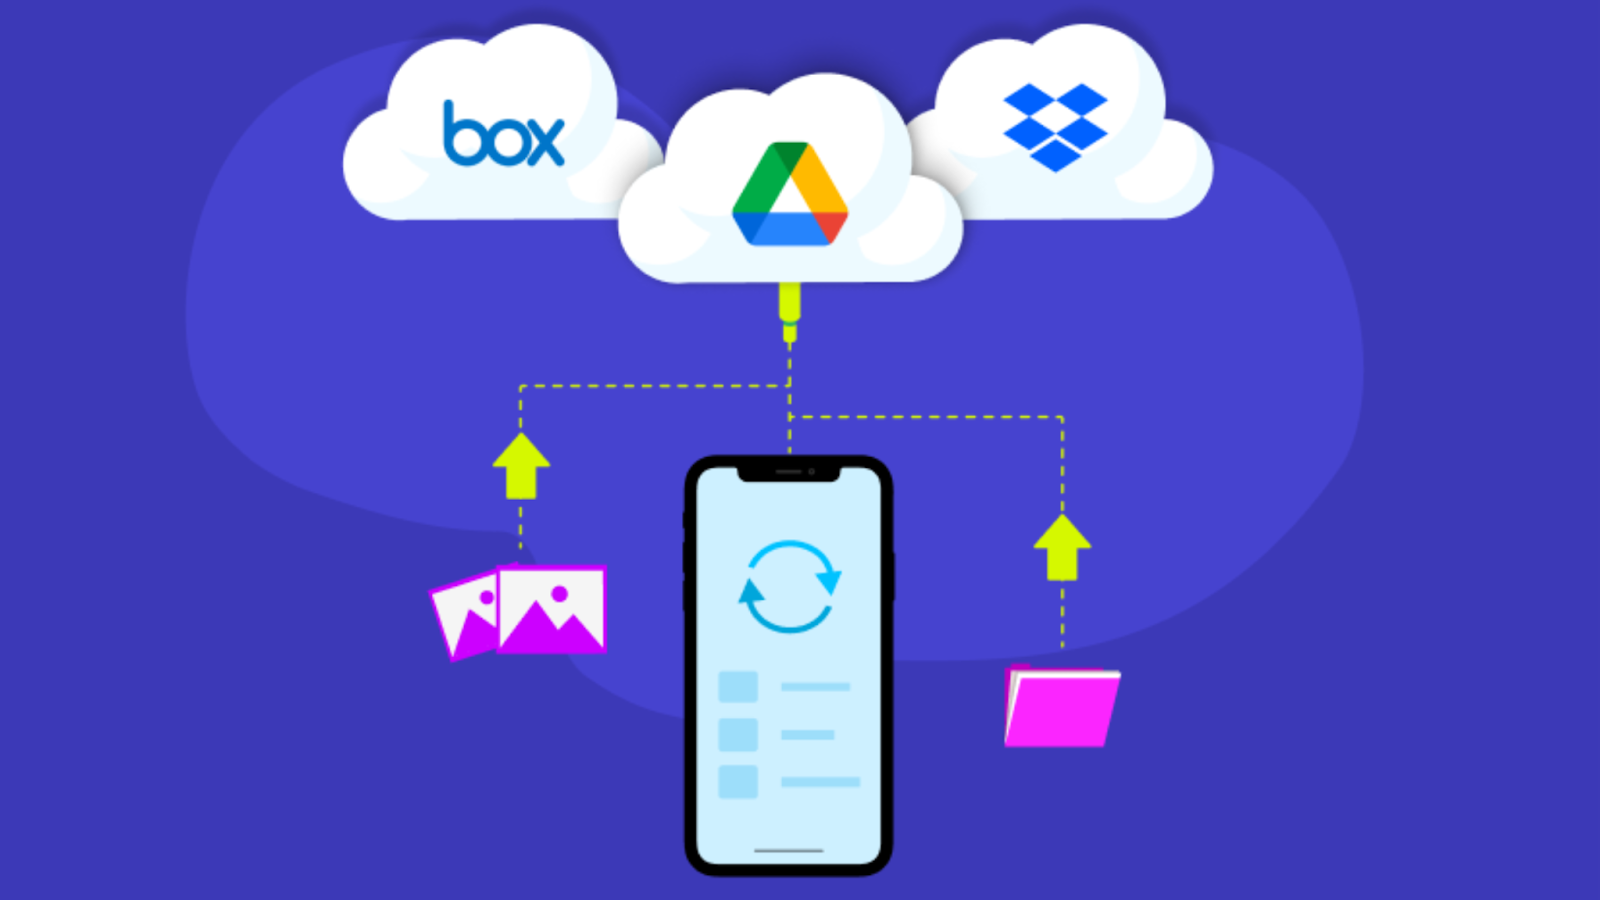
Besides other methods aforementioned, you can use third-party storage services that offer this feature.
- Step 1: Download a cloud storage app like Google Drive, Dropbox, or OneDrive if you don’t already have one.
- Step 2: Open the cloud storage app and log in or create an account.
- Step 3: Upload the folder or files you want to protect to the cloud storage.
- Step 4: Go to the settings in the cloud storage app and enable passcode or Face ID/Touch ID protection.
Now, when you open the cloud storage app, you’ll need to enter your password, Face ID, or Touch ID to access your files.
Conclusion
These days, protecting your personal and professional files is not just a recommendation but a necessity. By password-protecting your folders, you take a proactive step in safeguarding your sensitive data from unauthorized access. Whether you are using built-in tools, third-party software, or creative workarounds, the methods we’ve discussed offer various levels of security tailored to your specific needs. As technology continues to evolve, so do the threats to our privacy. By staying informed and taking simple precautions like password protection, you can ensure that your important files remain secure and private. Remember, the effort you put into securing your data today could save you from potential risks tomorrow. Stay safe, stay secure, and keep your digital world protected.
About Herond Browser
Herond Browser is a Web browser that prioritizes users’ privacy by blocking ads and cookie trackers, while offering fast browsing speed and low bandwidth consumption. Herond Browser features two built-in key products:
- Herond Shield: an adblock and privacy protection tool;
- Herond Wallet: a multi-chain, non-custodial social wallet.
Herond aims at becoming the ultimate Web 3.0 solution, heading towards the future of mass adoption. Herond has now released the mobile version on CH Play and App Store. Join our Community!