Looking to manage your crypto securely and easily? MetaMask is the go-to solution for that! It’s a popular cryptocurrency wallet that lets you store and manage your digital assets while connecting you to decentralized apps (dApps). This guide will show you how to download MetaMask, set up, add networks, and fund your wallet, helping you to get started safely.
Learn more: Multi-Chain Wallets: Manage Different Blockchains in One Place
What is MetaMask?
Simply put, MetaMask is a wallet that stores your Ethereum and other cryptocurrencies based on the Ethereum blockchain. It’s available as a browser extension and a mobile app, which makes it super easy to connect with decentralized apps (dApps). You get full control over your assets since it is a self-custody wallet – meaning, you hold your private keys. This puts you in charge, so no one else can access your funds unless you give them permission. Then, some people may ask: “Is MetaMask safe?”.
Is MetaMask Safe?
Yep, MetaMask is pretty safe! Since it’s a self-custody wallet, you hold the keys to your crypto, so you’re in charge of keeping your funds secure. It also has security features like encryption to protect your transactions. Plus, this wallet works with hardware wallets like Ledger and Trezor, which means you can keep your private keys offline for extra protection. Of course, it’s super important to be careful of phishing scams and always store your recovery phrase in a safe place. As long as you follow basic security steps, this wallet is a reliable and safe way to manage your crypto.
Learn more: Browser-Based Wallets: Quick and Easy Access to Your Crypto
How to Download and Set Up MetaMask
Setting up MetaMask is a straightforward process, and getting started with your new wallet only takes a few simple steps. Let’s go through the process:
- Download MetaMask: Head to the official MetaMask website and click on the “Download” button. Choose the right version for your browser (Chrome, Firefox, or Edge) and install it as an extension.
- Create Your Wallet: Once installed, open the extension and click “Get Started.” Follow the steps to create a wallet, set a strong password, and make sure to backup your recovery phrase. This phrase is super important in case you need to restore your wallet later.
- Secure Your Wallet: After setting up, MetaMask will prompt you to confirm your recovery phrase. This is to make sure you’ve saved it properly. Always store this phrase in a secure place, like a password manager or offline document – don’t share it with anyone!
Learn more: The Complete Guide to NFT Marketplace
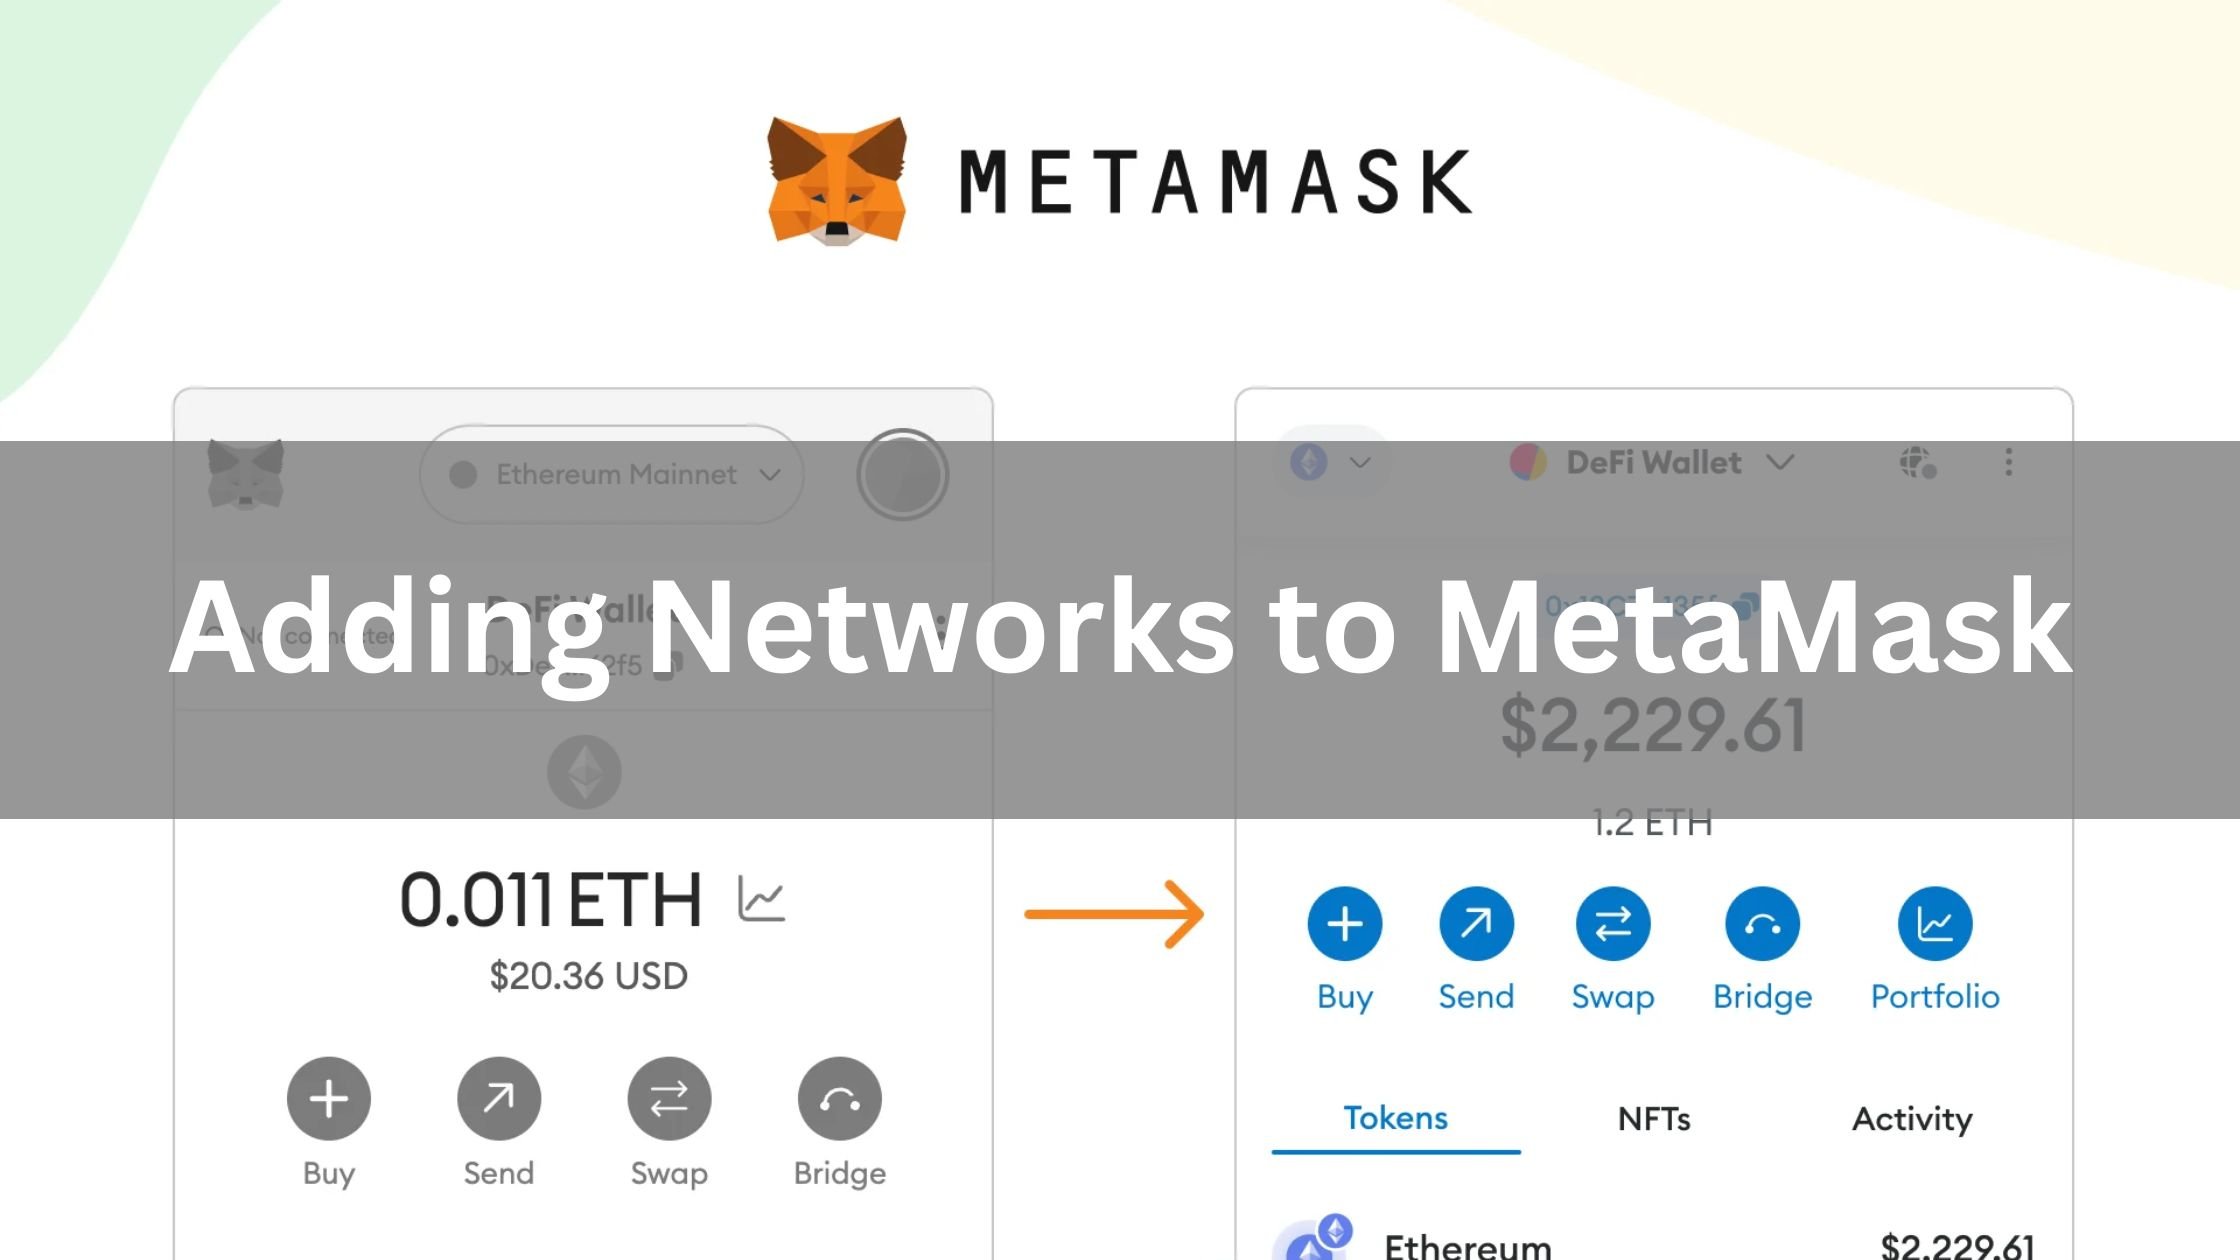
Adding Networks to MetaMask
MetaMask is not limited to just Ethereum. It supports a variety of other blockchains like Binance Smart Chain (BSC), Polygon, and Avalanche, which means you can interact with a range of decentralized apps (dApps) and manage multiple assets on different networks. Here’s how to add a new network to your wallet:
- Open MetaMask: Click on the MetaMask extension icon in your browser to open your wallet.
- Select the Network Dropdown: At the top of your MetaMask window, you’ll see the network dropdown (it’ll say “Ethereum Mainnet” by default). Click on it.
- Add Network: Scroll down and select “Add Network.” Here, you’ll need to input the network details for the blockchain you want to add. For example, if you’re adding Binance Smart Chain, you’ll need to fill in details like the Network Name, RPC URL, Chain ID, and Currency Symbol.
- Save and Switch Networks: After entering the network details, click “Save.” You can now easily switch between networks by selecting the dropdown menu again.
How to Fund Your MetaMask Wallet
Once you’ve got MetaMask set up, it’s time to fund it. Here’s how you can add some crypto:
- Get Your Wallet Address: Open your wallet and click on the account name to copy your wallet address. This is the address you’ll use to receive cryptocurrency.
- Transfer Crypto to MetaMask: If you already own cryptocurrency on another wallet or exchange, go to that wallet and initiate a transfer to your address. Just make sure to choose the correct network (e.g., Ethereum, Binance Smart Chain) to ensure your funds are transferred properly.
- Buy Crypto via MetaMask: You can also purchase crypto directly through MetaMask. Click on the “Buy” button, which will connect you to third-party services like Wyre or MoonPay, allowing you to purchase crypto using a credit card or bank transfer.
- Confirm Your Transaction: After initiating the transfer or purchase, wait for the transaction to be confirmed on the blockchain. Once confirmed, your funds will appear in your wallet.
Buying BNB on MetaMask
Buying BNB on MetaMask is straightforward, especially if you’re using Binance Smart Chain. Here’s how to buy and add BNB to your wallet:
- Add Binance Smart Chain (BSC): Make sure you’ve added Binance Smart Chain (BSC) to your wallet (see the “Adding Networks” section).
- Buy BNB: You can buy BNB directly in MetaMask by clicking the “Buy” button, or you can purchase BNB from a centralized exchange like Binance and withdraw it to your address.
- Send BNB to MetaMask: After buying BNB, withdraw it to your wallet using your Binance Smart Chain address. Make sure you select the right network during the withdrawal process.
- Confirm Transaction: Once the withdrawal is confirmed, your BNB will be available in your wallet.
Conclusion
Setting up MetaMask is straightforward, and with its secure features and ability to add multiple networks, it’s a powerful wallet for you to manage your digital assets. By following these easy steps, you’ll be ready to start using MetaMask to store, send, and receive cryptocurrency in no time. Plus, with the ability to download MetaMask as a browser extension or mobile app, accessing your wallet has never been easier. Keep your crypto safe and enjoy the decentralized web with MetaMask!
Learn more: Ton Bridge: Your Gateway to The Open Network
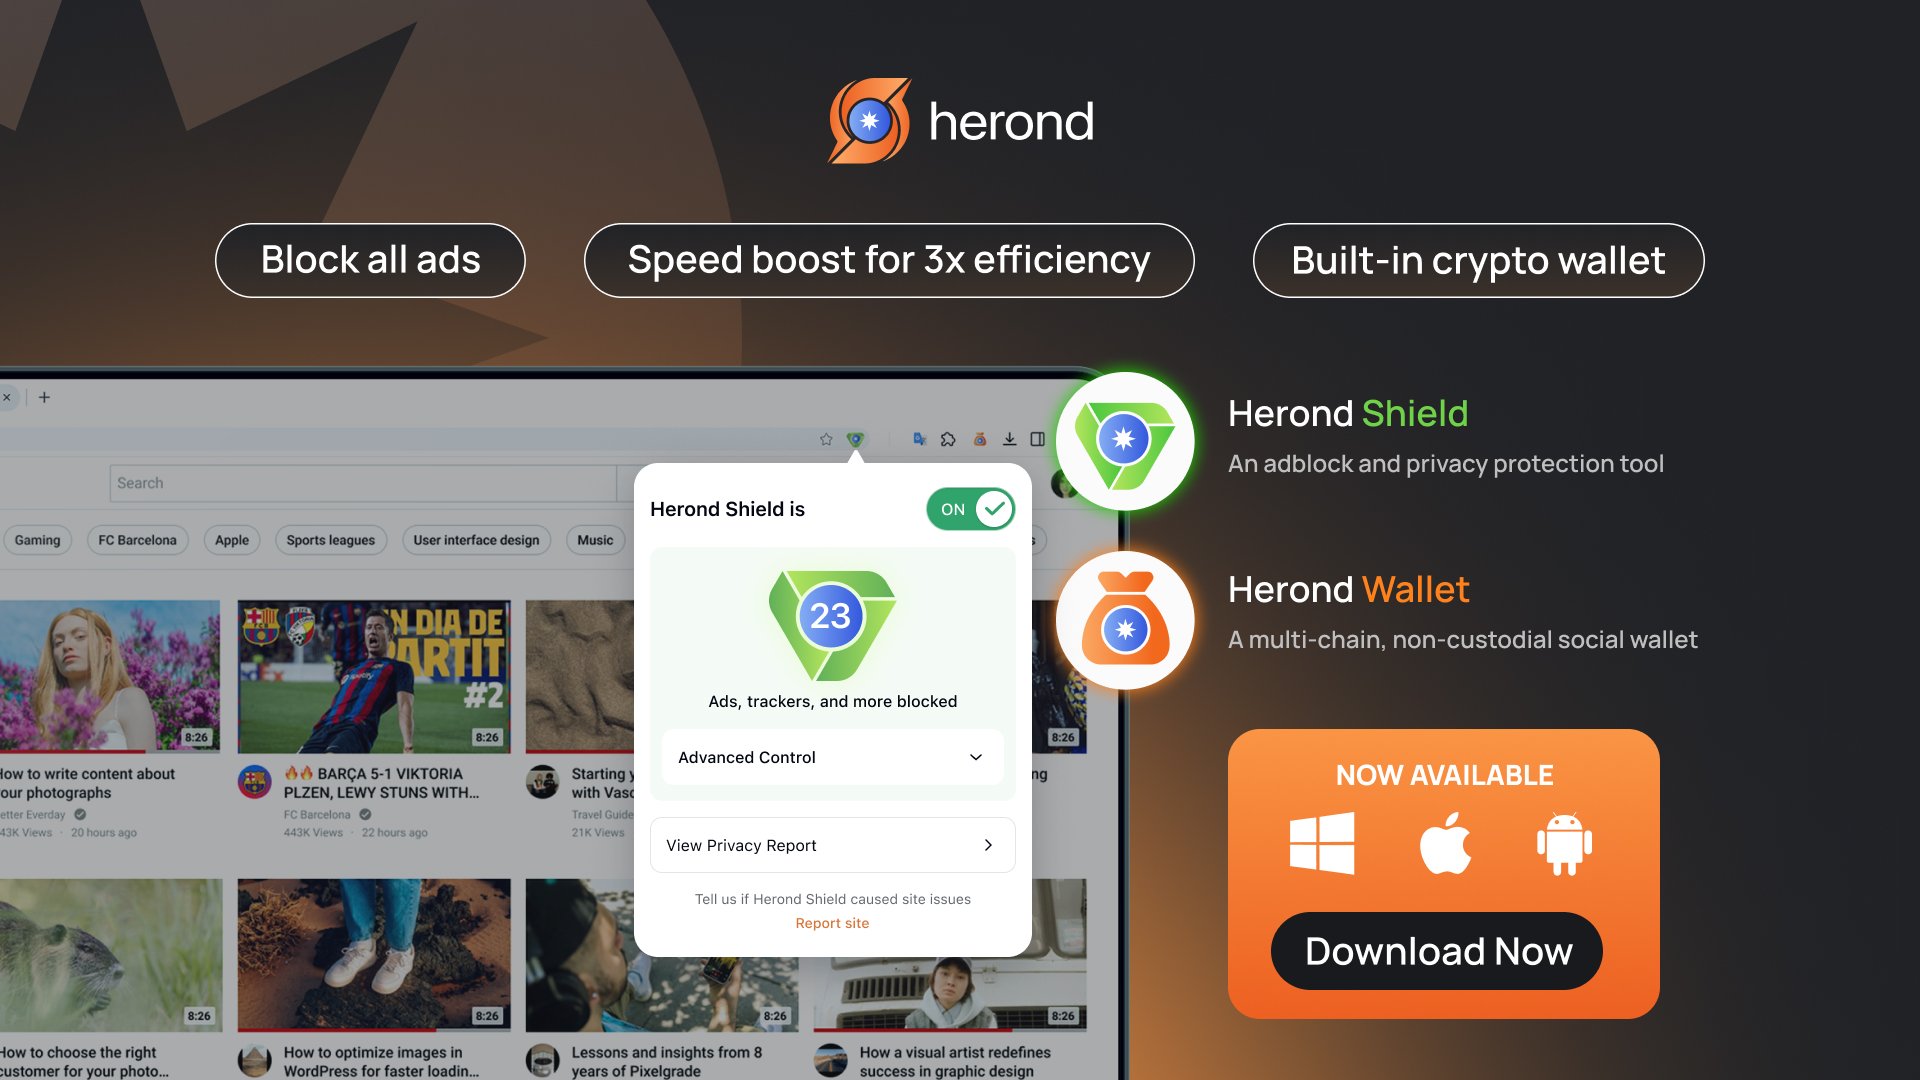
About Herond Browser
Herond Browser is a cutting-edge Web 3.0 browser designed to prioritize user privacy and security. By blocking intrusive ads, harmful trackers, and profiling cookies, Herond creates a safer and faster browsing experience while minimizing data consumption.
To enhance user control over their digital presence, Herond offers two essential tools:
- Herond Shield: A robust adblocker and privacy protection suite.
- Herond Wallet: A secure, multi-chain, non-custodial social wallet.
As a pioneering Web 2.5 solution, Herond is paving the way for mass Web 3.0 adoption by providing a seamless transition for users while upholding the core principles of decentralization and user ownership.
Have any questions or suggestions? Contact us:
- On Telegram https://t.me/herond_browser
- DM our official X @HerondBrowser
- Technical support topic on https://community.herond.org