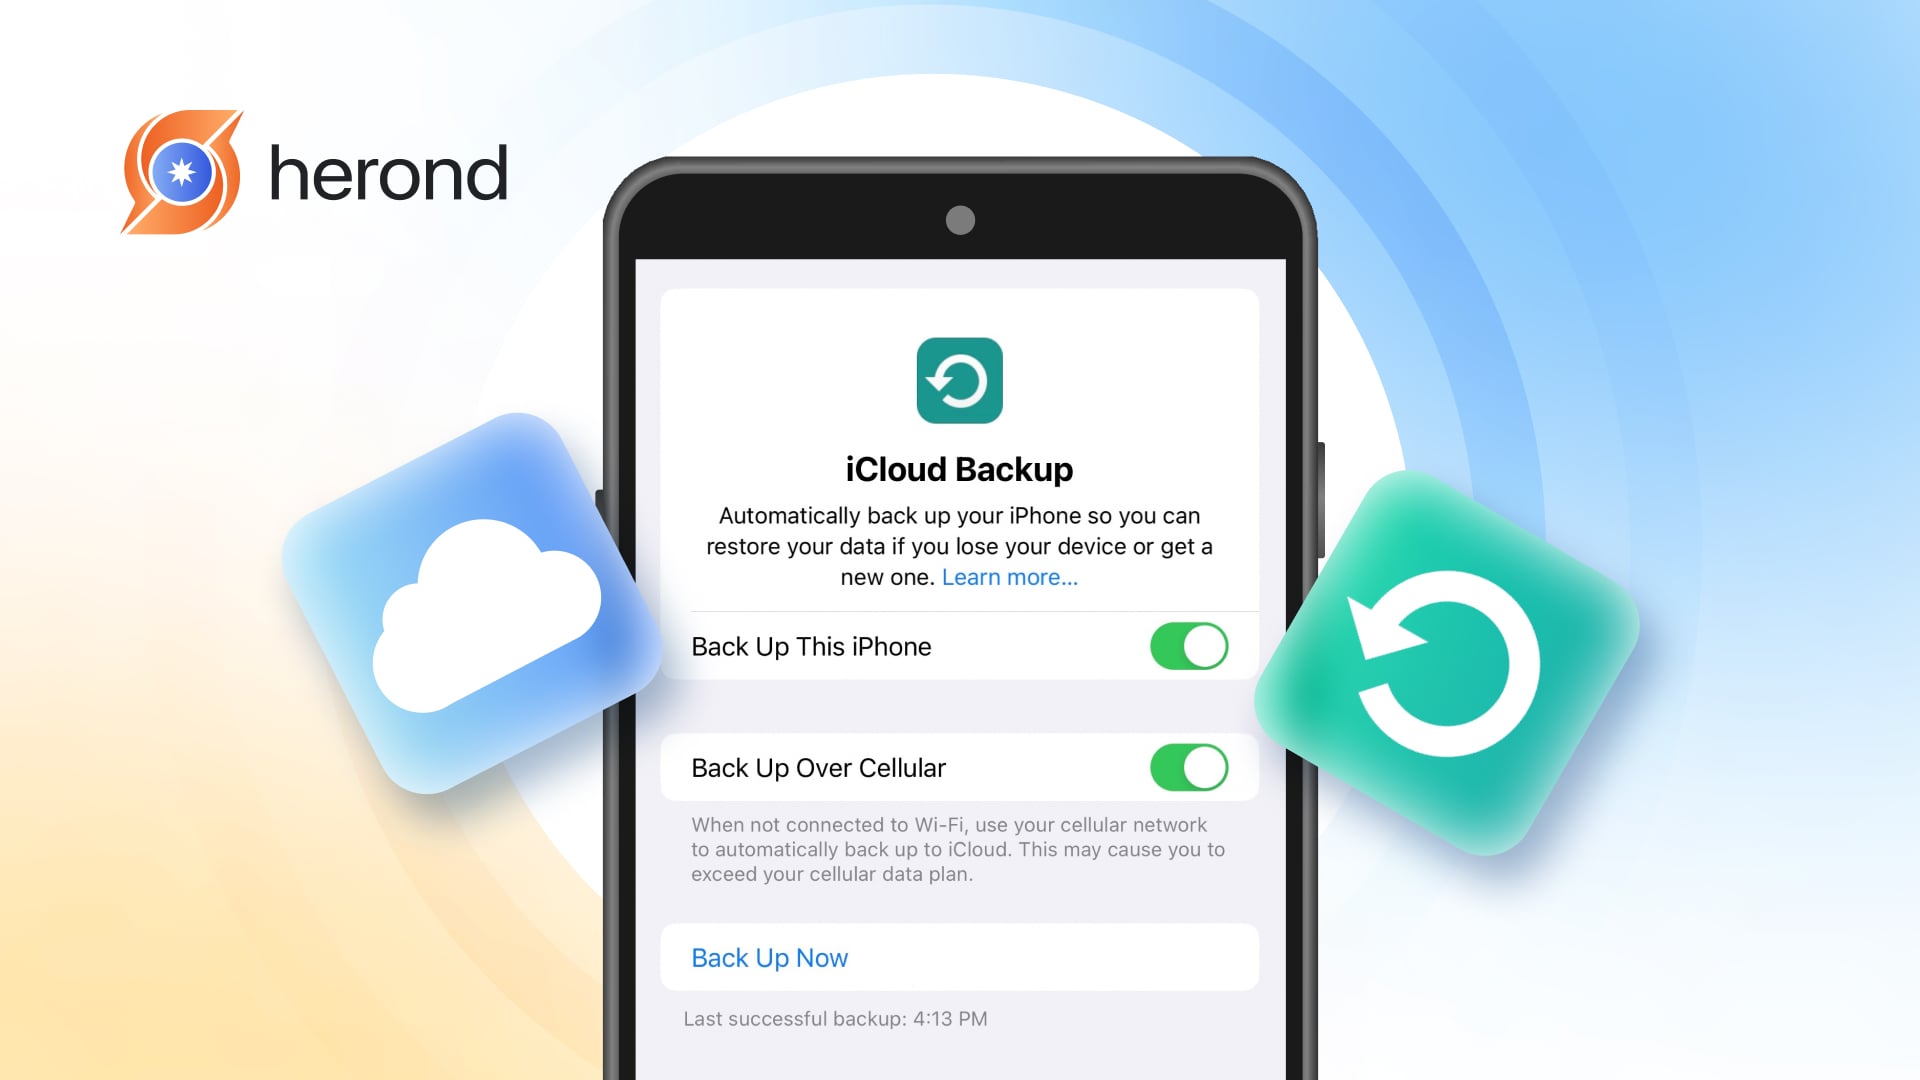
Backing up your iPhone is crucial to ensure the safety of your data and to simplify restoring it in case of loss or transfer to a new device. With various backup methods available, you can choose the one that best suits your needs. This guide highlights three quick and secure ways to back up your iPhone: using iCloud, iTunes on Windows, and Finder on macOS. These methods ensure that your photos, contacts, and important files are always protected.
Learn more: Step-by-Step Guide: How to Hide Apps on iPhone
Backup Your iPhone Data with iCloud
Backing up your iPhone with iCloud is one of the simplest and most convenient ways to protect your data. This method allows you to store your information securely in the cloud, making it easy to restore your device or transfer data to a new one. Here’s a step-by-step guide to backing up using iCloud:
Steps to Backup Your iPhone Data Using iCloud
- Connect to Wi-Fi
- Ensure your iPhone is connected to a stable Wi-Fi network. An internet connection is required to upload your data to the cloud.
- Open the Settings App
- Tap the “Settings” icon (gear-shaped) from your home screen.
- Access Your Apple ID
- Tap your name at the top of the “Settings” menu to access your Apple ID settings.
- Navigate to iCloud Settings
- Within the Apple ID section, select “iCloud” to view and manage iCloud options.
- Enable iCloud Backup
- Scroll down and tap “iCloud Backup”. Toggle the switch to “On” if it isn’t already enabled.
- Initiate a Backup
- Tap “Back Up Now” to start the backup process. Ensure your iPhone is connected to a power source and that you have enough available storage in iCloud to complete the process.
Additional Tips for iCloud Backup
- Enable Automatic Backups:
- You can set up automatic backups by keeping the iCloud Backup toggle on. With this, your iPhone will automatically back up whenever it is connected to Wi-Fi, plugged into a charger, and locked.
- Check Your iCloud Storage:
- Verify that you have enough iCloud storage for your data. Apple provides 5GB of free storage with every iCloud account, but if your backup requires more space, you can upgrade to a paid plan (starting at 50GB for $0.99/month).
- Restore Made Easy:
- An iCloud backup ensures that restoring your device or switching to a new one is seamless. All your settings, photos, apps, and data can be retrieved in just a few steps during the device setup process.

Backup Your iPhone Data with iTunes on Windows
Using iTunes on a Windows computer is a reliable and secure way to back up your iPhone locally. This method stores your data directly on your computer, ensuring it’s available for restoration even without an internet connection.
Steps to Back Up Your iPhone Data Using iTunes
- Install the Latest Version of iTunes
- Ensure your computer has the latest version of iTunes installed.
- If not, download it from the Apple website and follow the installation steps.
- Connect Your iPhone to the Computer
- Use a USB cable to connect your iPhone to your Windows PC.
- iTunes should launch automatically. If not, open it manually.
- Trust the Computer
- If prompted on your iPhone, tap “Trust” to establish a secure connection between the device and your computer.
- Select Your iPhone in iTunes
- In the iTunes interface, click on the iPhone icon located in the top-left corner to open your device’s Summary page.
- Choose the Backup Location
- Under the “Backups” section, select either:
- “iCloud” if you want to back up data to the cloud.
- “This computer” for a local backup.
- If you choose “This computer,” click “Back Up Now” to start the backup process.
- Under the “Backups” section, select either:
- Wait for the Backup to Complete
- Ensure your iPhone stays connected to the computer during the entire process.
- You can monitor the progress in the iTunes window.
Additional Tips
- Encrypt Your Backup:
- For added security, select the option to encrypt your backup. This protects sensitive data like passwords and health information.
- Regular Updates:
- Keep your backups up to date by performing regular backups to ensure the latest data is stored.

Backup Your iPhone Data Using Finder (on a MacBook)
If you’re using a MacBook with macOS Catalina or later, Finder has replaced iTunes for managing and backing up iPhone data. This method offers a fast, secure way to store your iPhone data locally on your Mac.
Steps to Backup Your iPhone Data with Finder
- Connect Your iPhone to Your MacBook
- Use a USB cable to connect your iPhone to the MacBook. Finder will automatically detect your device.
- Open Finder
- From the Dock, open Finder and locate your iPhone in the “Locations” section in the left-hand menu.
- Select Your iPhone
- Click on your iPhone’s name to open the device management interface in Finder.
- Choose to Encrypt Your Backup (Optional)
- If you want to include sensitive data such as passwords, health information, and other secure details, check the box for “Encrypt local backup.”
- You’ll need to create and input a password to secure this backup.
- Start the Backup
- Click “Back Up Now” to begin the process. Ensure your iPhone stays connected throughout.
- Wait for the Backup to Complete
- Finder will display the progress of the backup. Once completed, your iPhone data will be safely stored on your Mac.
Additional Tips
- Keep Your Backups Updated:
- Perform regular backups to ensure your most recent data is secure.
- Restore with Ease:
- Finder makes restoring your iPhone data quick and straightforward during device setup or troubleshooting.

Conclusion
Whether you prefer the cloud convenience of iCloud, the localized security of iTunes, or the seamless integration of Finder, these backup methods provide reliable solutions to safeguard your data. Regular backups not only protect against unexpected data loss but also make transitioning to a new device effortless. Choose the option that fits your setup and ensure your data remains secure.
Learn more: How to Record a Video on Your Mac
About Herond Browser
Herond Browser is a cutting-edge Web 3.0 browser designed to prioritize user privacy and security. By blocking intrusive ads, harmful trackers, and profiling cookies, Herond creates a safer and faster browsing experience while minimizing data consumption.
To enhance user control over their digital presence, Herond offers two essential tools:
- Herond Shield: A robust adblocker and privacy protection suite.
- Herond Wallet: A secure, multi-chain, non-custodial social wallet.
As a pioneering Web 2.5 solution, Herond is paving the way for mass Web 3.0 adoption by providing a seamless transition for users while upholding the core principles of decentralization and user ownership.
Have any questions or suggestions? Contact us:
- On Telegram https://t.me/herond_browser
- DM our official X @HerondBrowser
- Technical support topic on https://community.herond.org


