Engaging your audience on Twitch goes beyond just streaming great content – it is about creating interactive experiences that make viewers feel like they’re part of the action. One of the best ways to achieve this is by using polls. Polls allow you to gather real-time feedback, make decisions with your community, and keep viewers actively involved in your stream. This article will introduce the step-by-step guide on how to make a poll on Twitch.
Let’s get started and make your Twitch channel even more engaging!
Step-by-Step Guide for Streamers on Twitch Desktop
As a streamer, in order to have your channel monetized and access to exclusive benefits and tools, you must be either a Twitch Affiliate or a Twitch Partner.
Step 1: Access the Creator Dashboard
Go to the Twitch website and log in to your account. Then, click on your profile picture in the top-right corner to open a dropdown menu and select “Creator Dashboard” from the dropdown menu.
Step 2: Navigate to the Polls Section
- In the Creator Dashboard, click on “Stream Manager” in the left-hand menu.
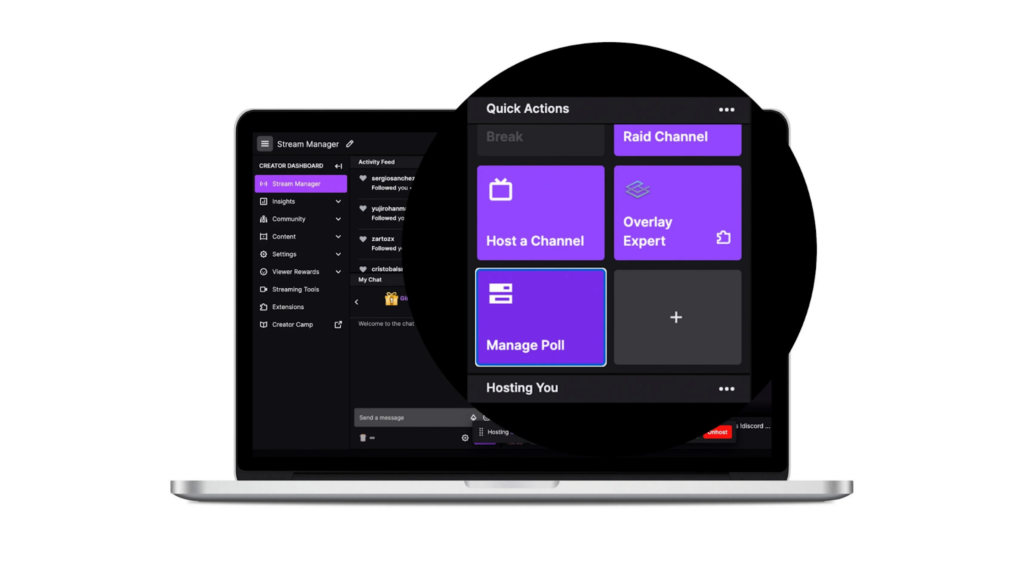
- In the Stream Manager, you will see the “Quick Actions” panel on the right side of the screen. If you don’t see the “Quick Actions” panel, click on the “+” icon to add it.
Step 3: Create a Poll
- In the “Quick Actions” panel, click on “Manage Polls.” If it is not visible, add it by clicking the “+” icon and selecting “Manage Polls” from the list.
- Click on “Manage Polls” to open the poll creation window.
- Click on “New Poll” to begin setting up your poll.
Step 4: Set Up Your Poll
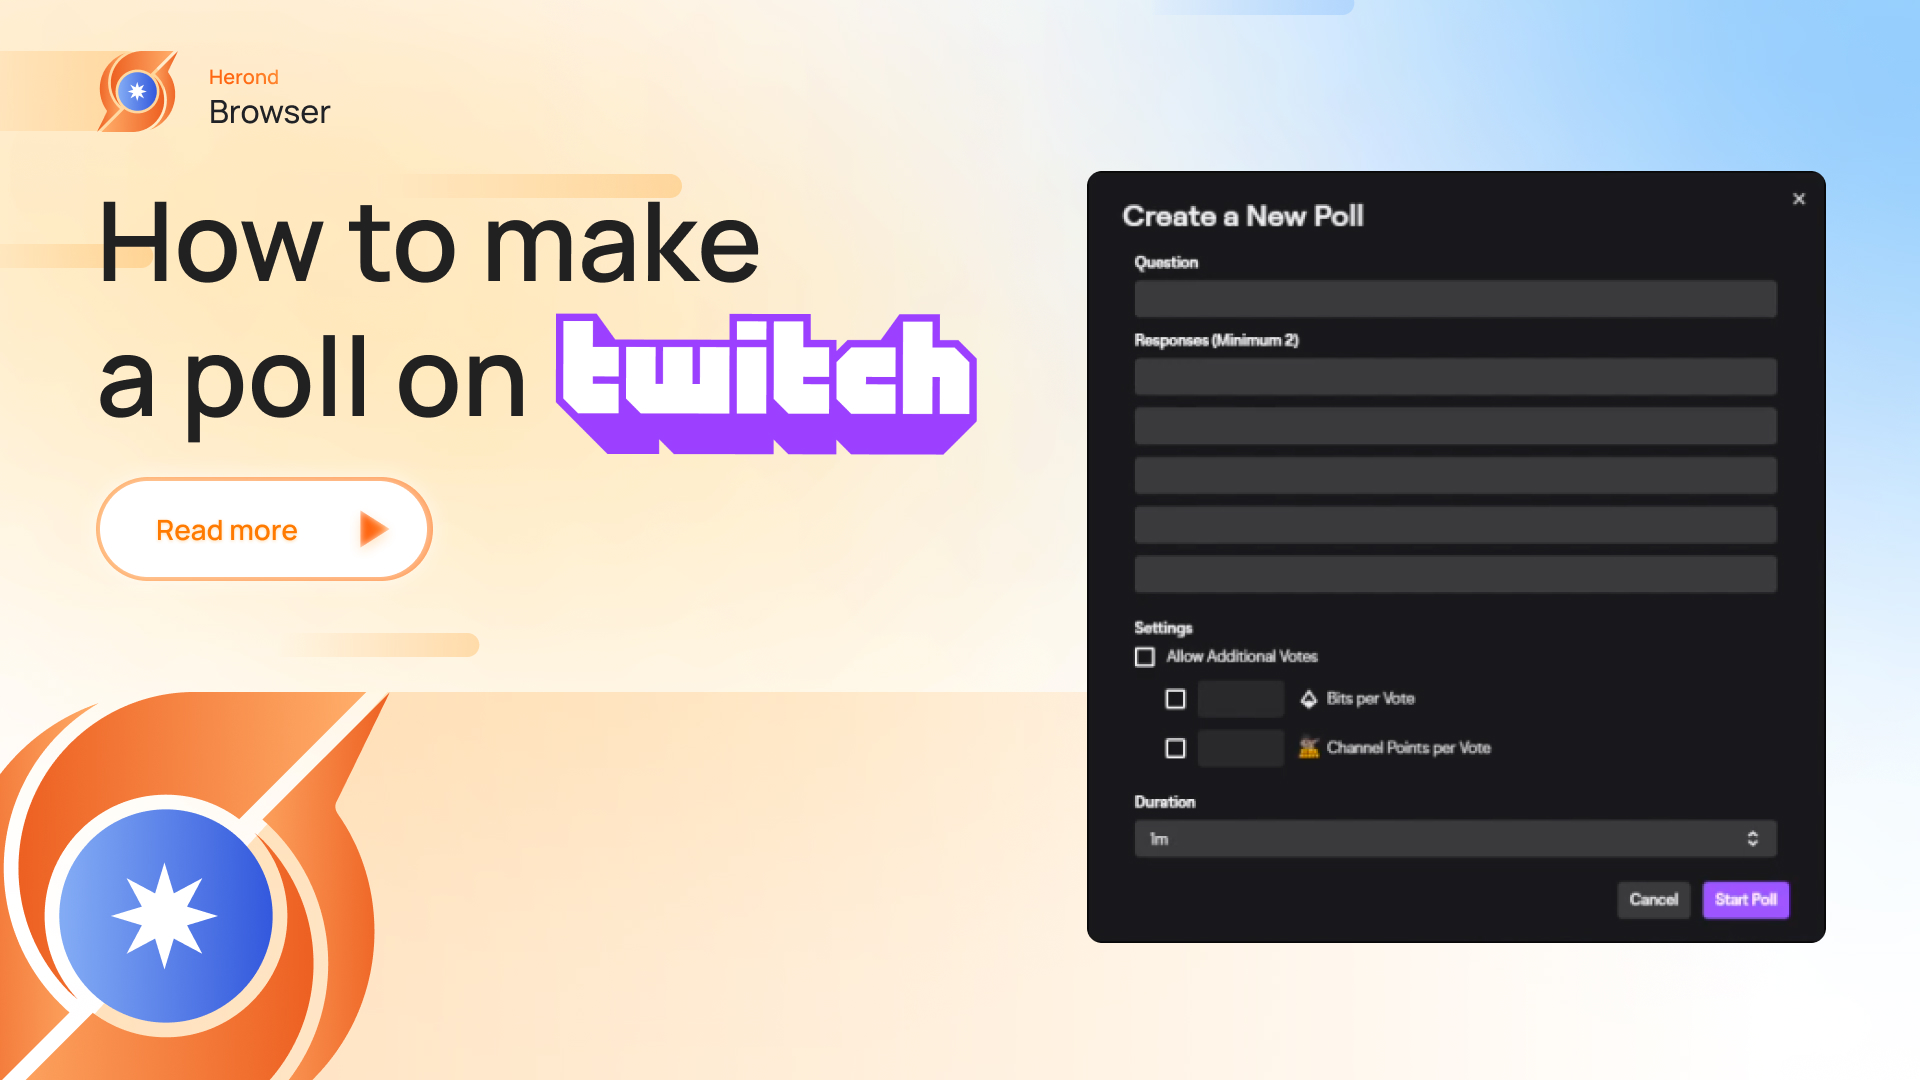
- Type your poll question in the “Question” field.
- Add Poll Options: Enter up to five options for your viewers to choose from.
- Set Poll Duration: Choose how long you want the poll to run. You can choose between a range of time options, from 1 to 10 minutes.
- Channel Points Voting (Optional): If you want viewers to vote using Channel Points, enable the “Allow Channel Points Voting” option and set the cost per vote.
Step 5: Start the Poll
- Double-check your poll question, options, and duration to ensure everything is correct.
- Click on “Start Poll” to launch it. The poll will now be visible to your viewers in the chat.
Step 6: Monitor and End the Poll
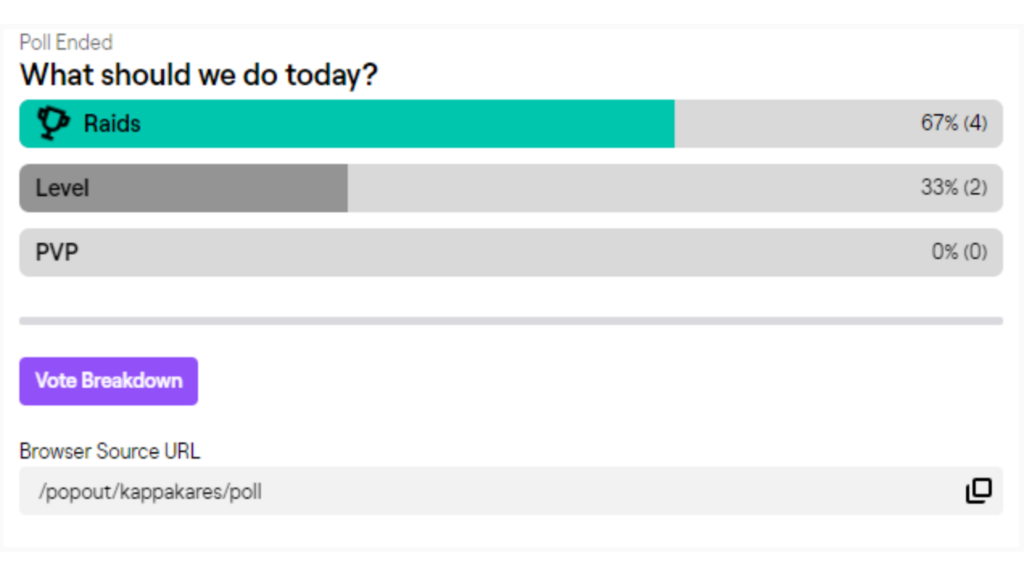
- You can monitor the poll results in real-time from the “Manage Polls” section in your Quick Actions panel.
- Once the poll duration ends, the poll will automatically close, and the results will be displayed.
- You can also manually end the poll early by clicking on “End Poll.”
Step 7: Announce the Results
Once the poll has ended, announce the results to your viewers. You can discuss the outcome and interact based on their choices.
Step-by-Step Guide for Streamers on Twitch Mobile
Creating a poll on Twitch Mobile can be a bit different from the desktop experience, but it is still a straightforward process.
Step 1: Open the Twitch App
Launch the Twitch app on your mobile device and log in to your account.
Step 2: Navigate to Your Channel
- Tap on your profile picture or avatar to go to your channel.
- Tap on the profile picture again to open the menu, and select “Creator Dashboard” or “Stream Manager” from the options available.
Step 3: Create a Poll
- Within the Stream Manager, look for the “Quick Actions” panel. If you do not see the “Poll” action, you might need to add it by tapping on the “+” icon to add a new Quick Action.
- Select “Manage Poll” or “Create a Poll” from the list of available actions and add it to your Quick Actions.
Step 4: Set Up the Poll
- Tap on “Create a Poll” in the Quick Actions panel.
- Fill in the poll details:
- Question: Enter the question you want to ask your viewers.
- Options: Add the possible answers (you can usually add up to five options).
- Duration: Set the duration for how long the poll should run (e.g., 1 minute, 5 minutes, etc.).
Step 5: Start the Poll
Once you have filled in all the details, tap “Start Poll” to initiate it. Your viewers will now see the poll in the chat and can start voting.
Step 6: View Results
After the poll ends, you can view the results in the same Stream Manager interface.
Step-by-Step Guide for Moderators on Twitch Desktop
As a moderator, you cannot access the Creator Dashboard as the guidance above for streamers, but creating polls is still super easy. Let’s discover with us!
Step 1: Access to Streamer’s Channel & Open Chat
- Go to Twitch and log in to your account.
- Navigate to the streamer’s channel where you are a moderator.
- If the chat is not already visible, click on the “Chat” button to open it.
Step 2: Open Moderator View
Click on the sword icon (⚔️) at the bottom of the chat to enter Moderator View. Alternatively, you can also use the “Mod View” by clicking on your profile picture in the top right corner and selecting “Mod View”.
Step 3: Create a Poll
- In the Mod View, look for the “Manage Polls” panel. If it’s not visible, you might need to add it by clicking on the “plus” icon (+) on the right sidebar to customize your Mod View.
- Find “Manage Polls” and add it to your dashboard.
Step 4: Set Up the Poll
- Click on “Create a New Poll” in the “Manage Polls” panel.
- Fill in the poll details including questions, options and durations as streamers’ guide.
Step 5: Start the Poll
Once you have filled in all the details, click “Start Poll” to initiate it. The poll will now appear in the chat, and viewers can start voting.
Step 6: Monitor the Poll & End the Poll
- You can monitor the progress of the poll in the “Manage Polls” panel and see live updates on the votes.
- The poll will end automatically after the set duration. If necessary, you can manually end the poll by accessing the “Manage Polls” panel and clicking “End Poll.”
Step-by-Step Guide for Moderators on Twitch Mobile
Switching to Twitch Mobile, the actions are quite different from the Desktop version.
Step 1: Access the Streamer’s Channel & Open Chat
- Launch the Twitch app on your mobile device and log in to your account.
- Go to the streamer’s channel where you are a moderator.
- Tap on the live stream to open the chat.
Step 2: Moderator Actions
Look for the moderator tools or the gear icon (⚙️) in the chat window. Tap on it to access the moderator actions.
Step 3: Create a Poll
In the moderator actions, you should see an option for “Manage Polls” or “Create a Poll.” If it’s not immediately visible, it might be under the “More” section.
Step 4: Set Up the Poll
Tap “Create a Poll.” and fill in the details for the poll
Step 5: Start the Poll
After entering all the necessary information, tap “Start Poll” to launch it. The poll will appear in the chat, and viewers can start voting.
Step 6: Monitor & End Poll
- You can monitor the progress of the poll in the chat and see live updates on the votes.
- If necessary, you can manually end the poll before the set duration by accessing the poll management tools again.
Conclusion
To sum up, whether you are deciding what game to play next, getting opinions on your content, or just having fun with your audience, polls are an essential tool in every streamer’s arsenal. Therefore, knowing how to create a poll on twitch and take the full advantages of its is the key factor leading the success of streamers or moderators.
About Herond Browser
Herond Browser is a Web browser that prioritizes users’ privacy by blocking ads and cookie trackers, while offering fast browsing speed and low bandwidth consumption. Herond Browser features two built-in key products:
- Herond Shield: an adblock and privacy protection tool;
- Herond Wallet: a multi-chain, non-custodial social wallet.
Herond aims at becoming the ultimate Web 2.5 solution that sets the ground to further accelerate the growth of Web 3.0, heading towards the future of mass adoption.
Join our Community!


